A few years ago, I found a fun art canvas project to do with your kids that involved throwing paint covered Koosh balls at a blank canvas. Since I had an empty wall to fill above our playroom bookshelf, I thought it would be a fun way for my eldest to make a custom piece of art for the room (Middle Sis was only a baby at the time). It was an easy project for us to do out in the driveway and took only a few minutes, and little mess, to complete it. The finished product was bright and colorful and served as a good space-filler for a few years. This past year, however, I felt like the wall needed an upgrade (I’ve kind of reignited my DIY side this year. I don’t know exactly what lit the spark, but I love returning to my artistic, crafty roots). Since I have been doing more craft projects with the girls, I thought how fun it would be to create a canvas project that would rotate with the seasons/holidays and it would be 100% something we made together.
I usually come up with the concept, and the girls can weigh in with their ideas as well. In terms of supplies, I usually scour my craft box for paint, markers and paper, and then will order canvases from Michaels. On occasion, I’ll order holiday specific paper from Oriental Trading or just get from the dollar store in my area. But in general, you can do a lot with what you have around the house. When kids are helping, they usually find things that you would never think of.
This has turned into a low-cost way to do a project together that also works as decor for the house. Plus, it’s a great conversation piece when you have company over–whether it’s a play date or a dinner party. We only just started this series in the fall, but here are are our works so far!
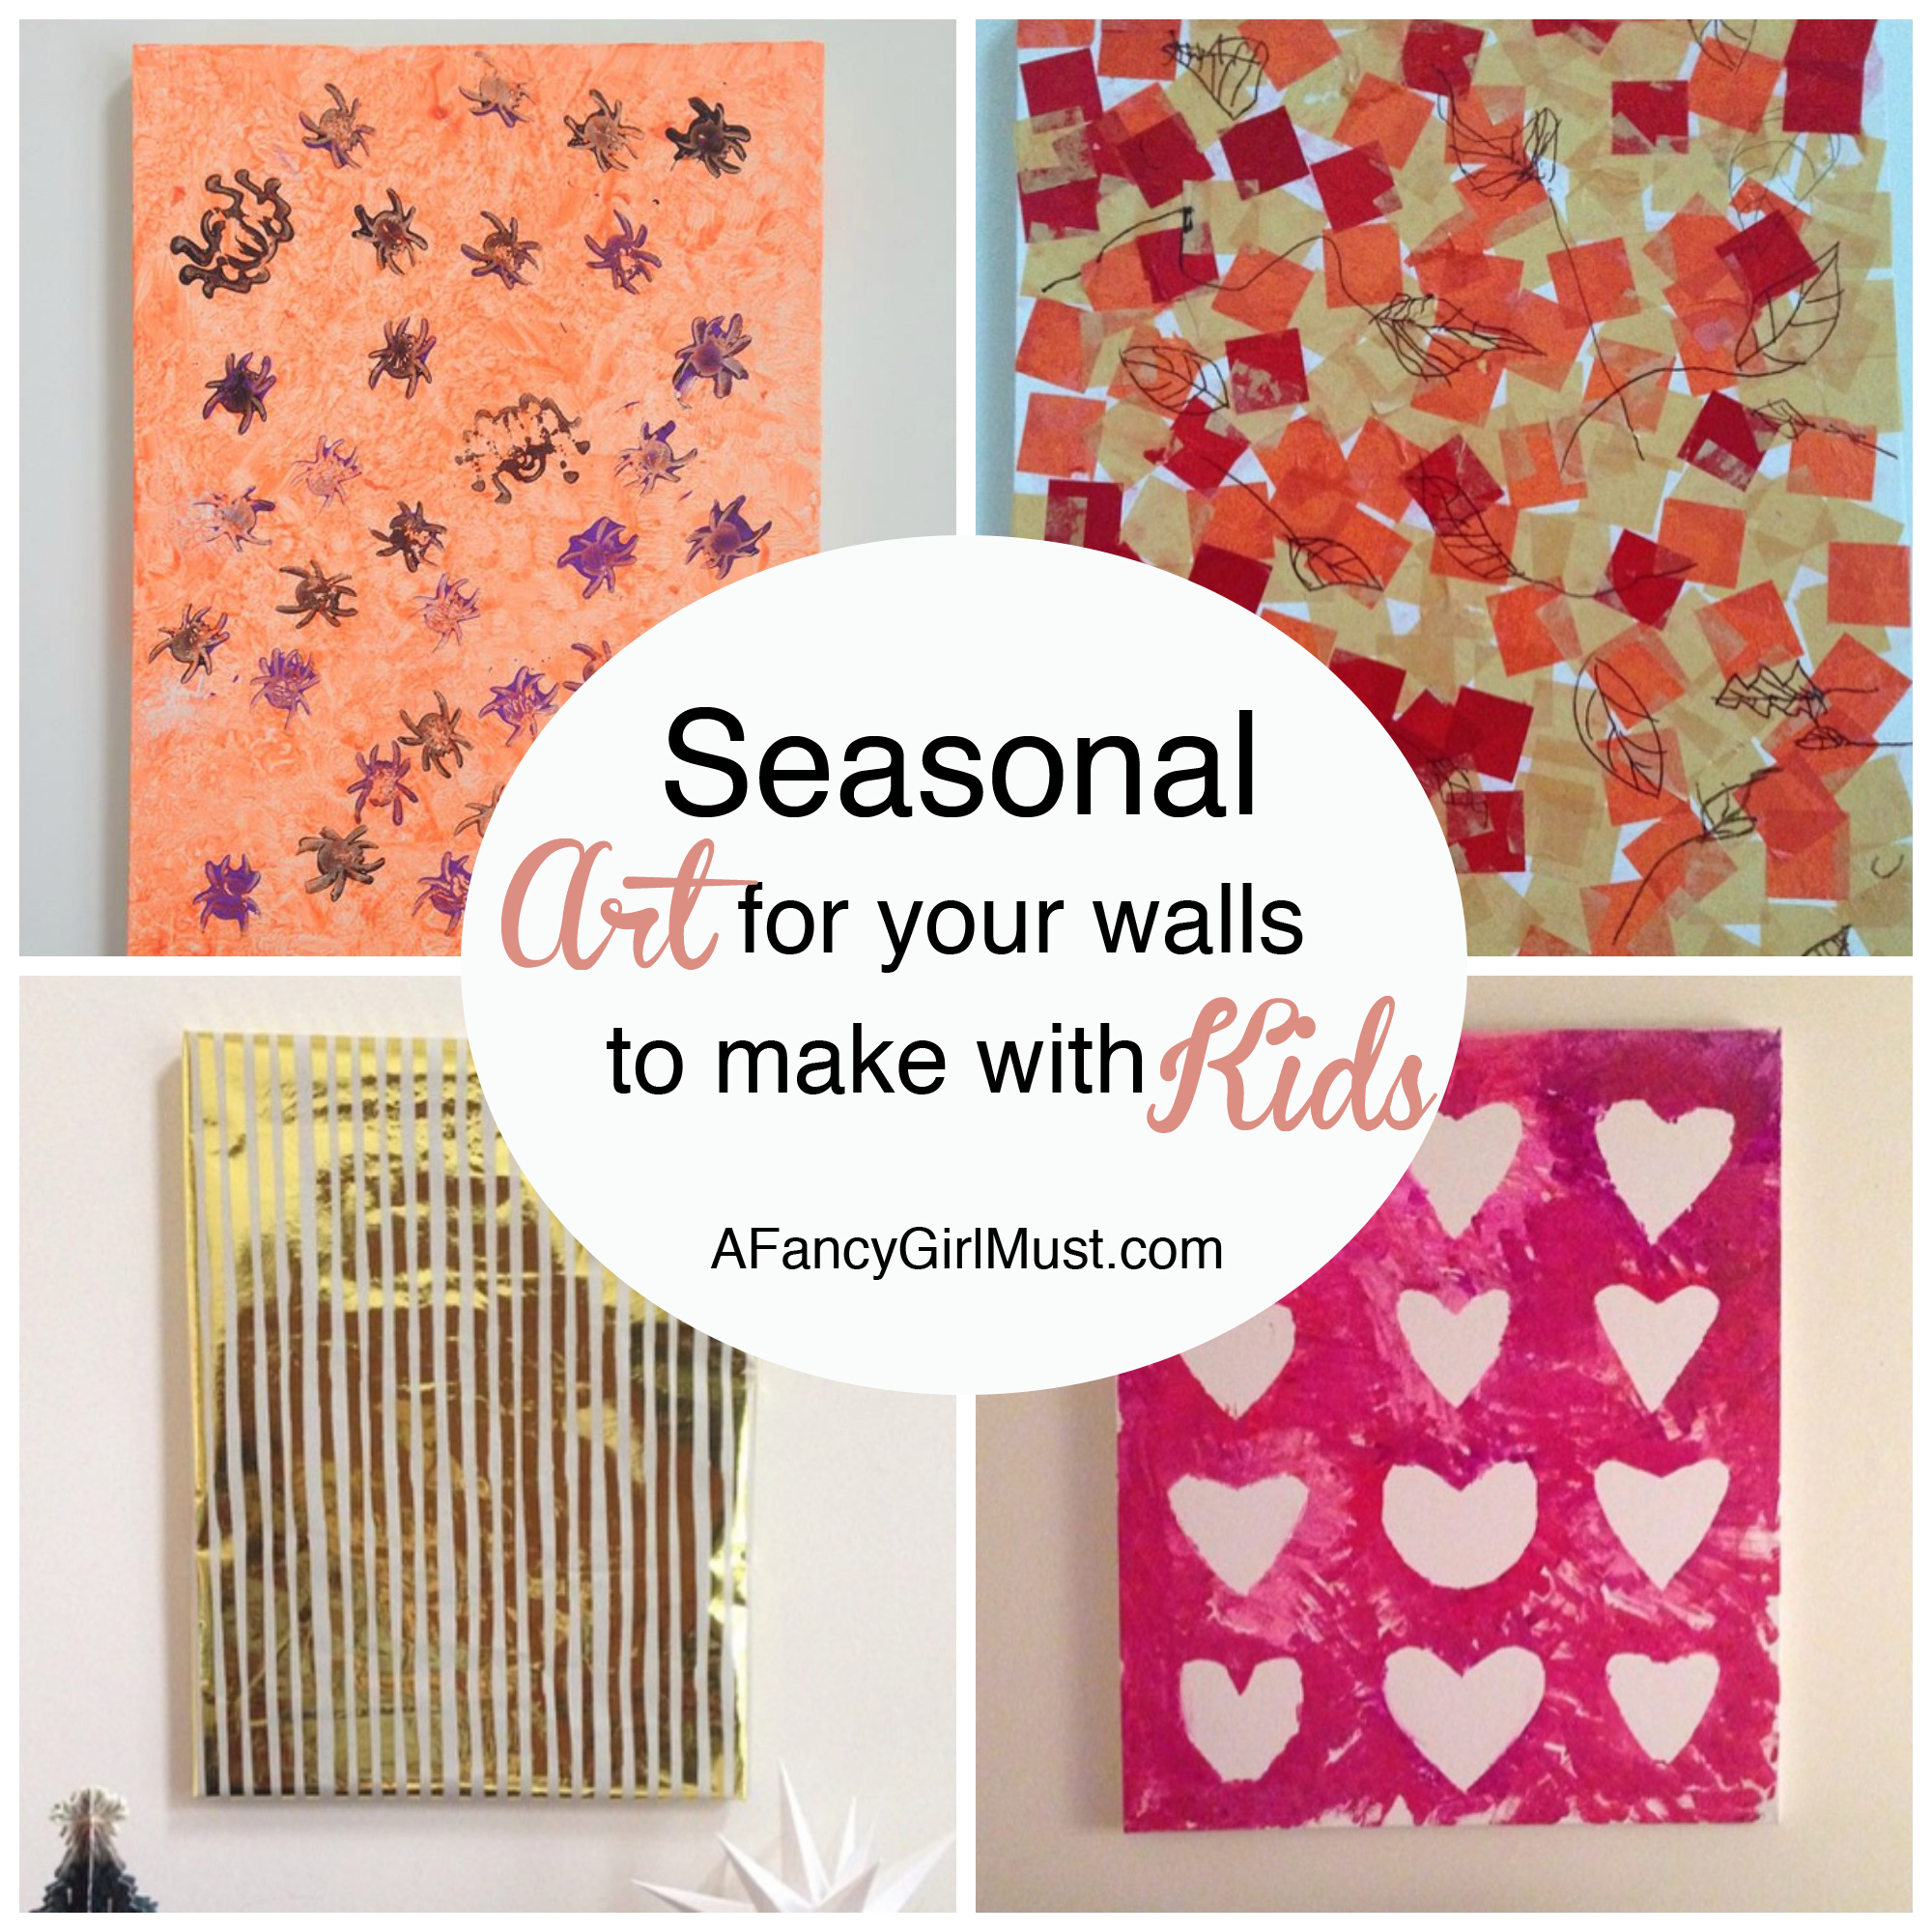
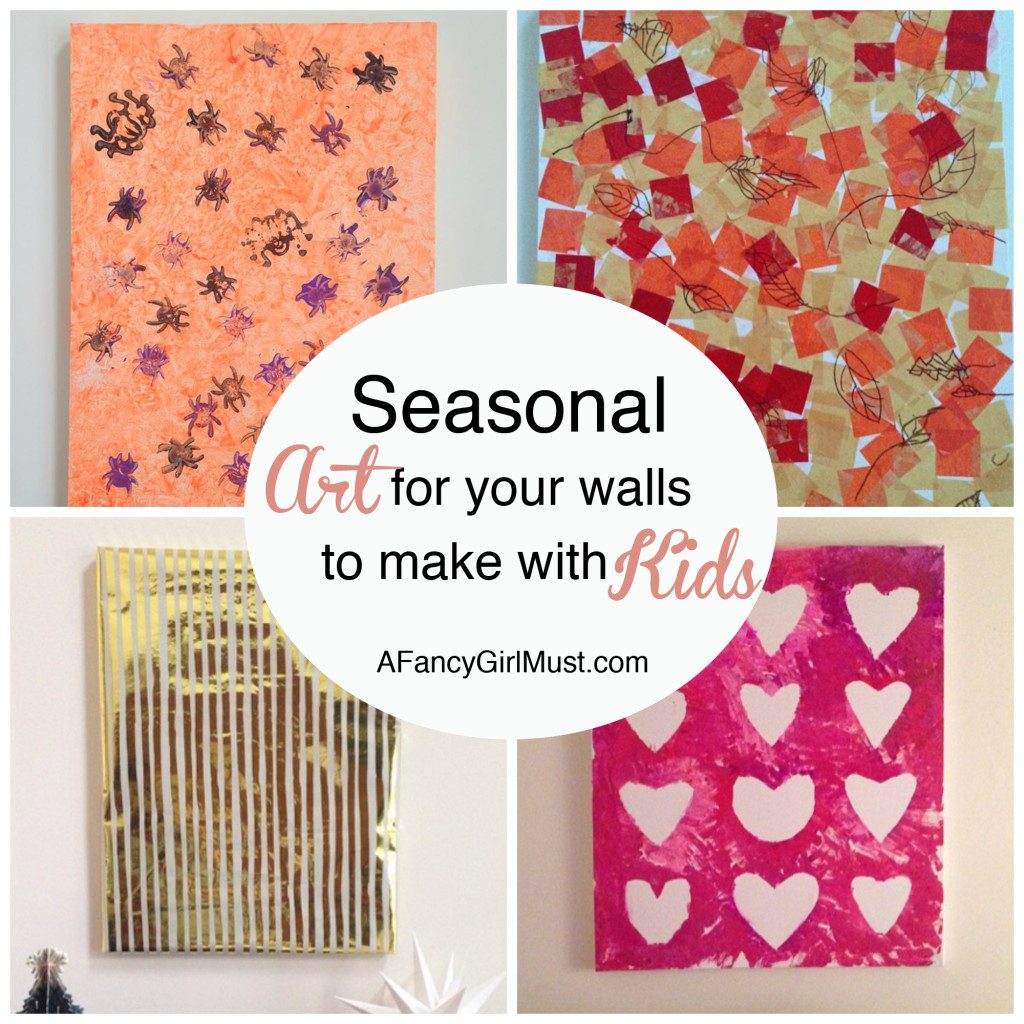
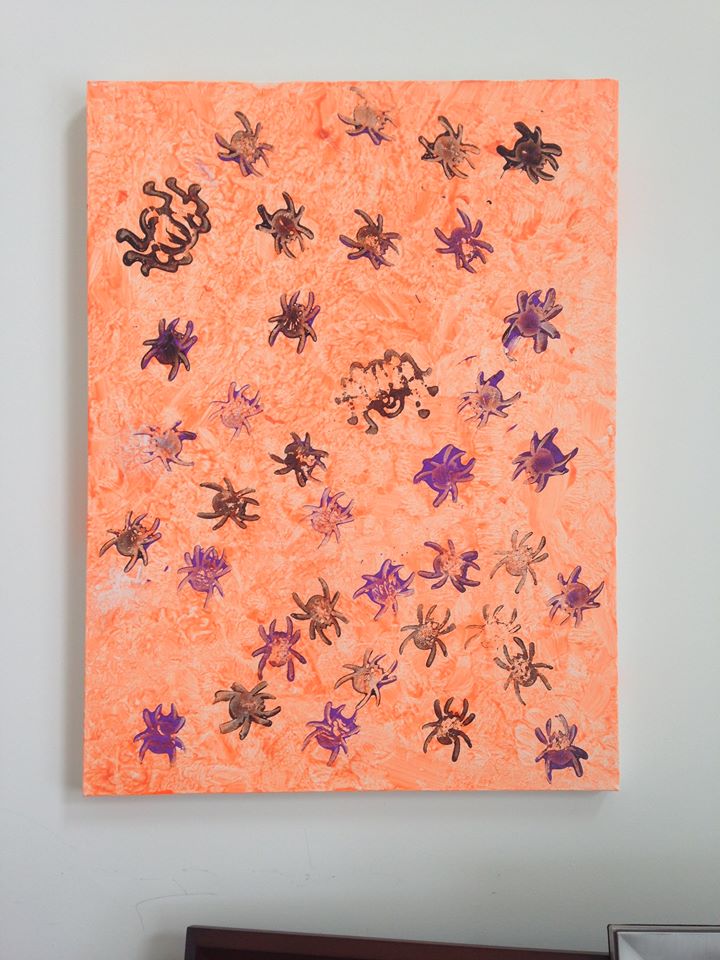
Our first canvas was for Halloween.
I designed this print to coordinate with my mantelpiece decor that consisted of a spider motif and a black, orange and purple color scheme. For our canvas, we painted an orange background with foam brushes and then scattered black and purple spiders throughout with foam stamps.
Next up was Thanksgiving.
A few weeks before we created the canvas, I noticed my eldest was really into drawing leaves. Both girls had also just been to a mini art camp where they made mixed media cityscapes on canvas with tissue paper. For our canvas, we ModPodged little squares of tissue paper in fall colors (yellow, orange, red). Once that was dry, I had my eldest draw her leaves all over the canvas.
Then there was Christmas.
Quite honestly, we were so busy with the holiday that I didn’t spend time coming up with a concept for a new canvas. So instead, I kept things minimal and literal, and just wrapped our Thanksgiving art like a present. It’s still art if you’re creating.
And most recently, we did Valentine’s Day.
In contrast to the scattered nature of our Thanksgiving and Halloween prints, I preferred a more linear, symmetric design for this project. Using Contact Paper, I had the girls trace and cut out their own heart shapes and place them in a 3 x 4 arrangement. I then gave them each a plate with a few different kinds of pinks, reds and purples. Using a foam brush, they stamped the paint around the edges of the hearts and in the spaces between until the canvas was covered. I was too excited to wait for the paint to dry to peel up the hearts and see our creation. I used a baby wipe to touch up a few smudges here and there (the contact paper didn’t stick THAT well on the canvas, but it was good enough), but overall I loved it! It might be my favorite print yet.
What are some creative ways you get ready for the holidays? Comment below with links to your projects. I would love to see them!


