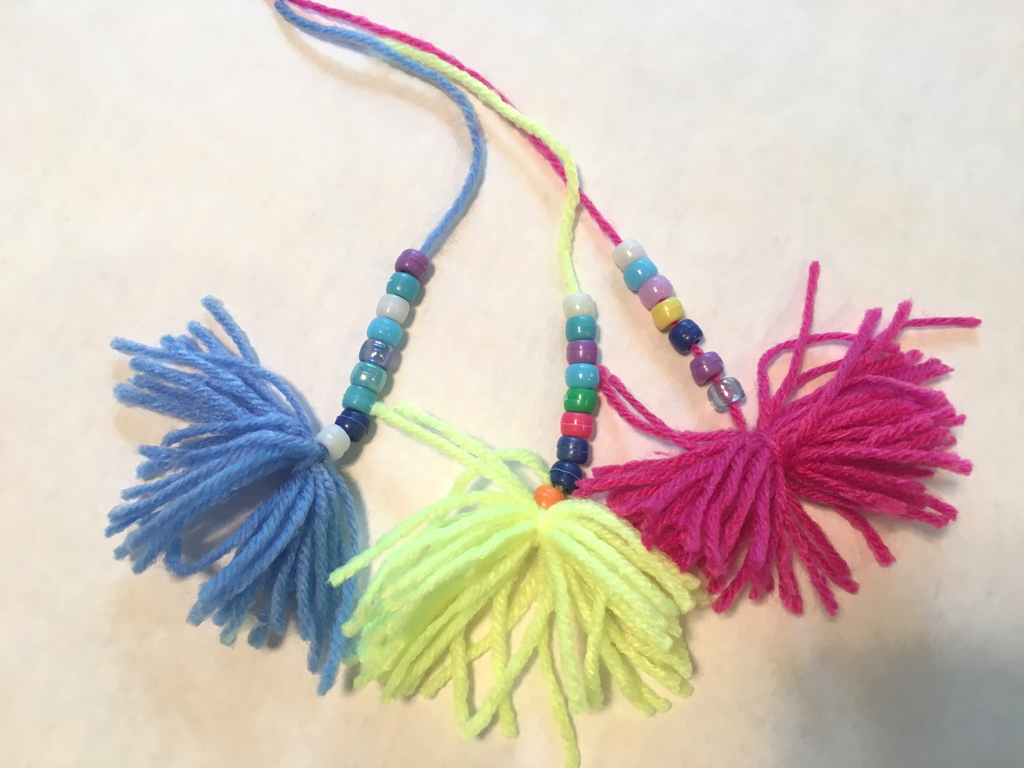
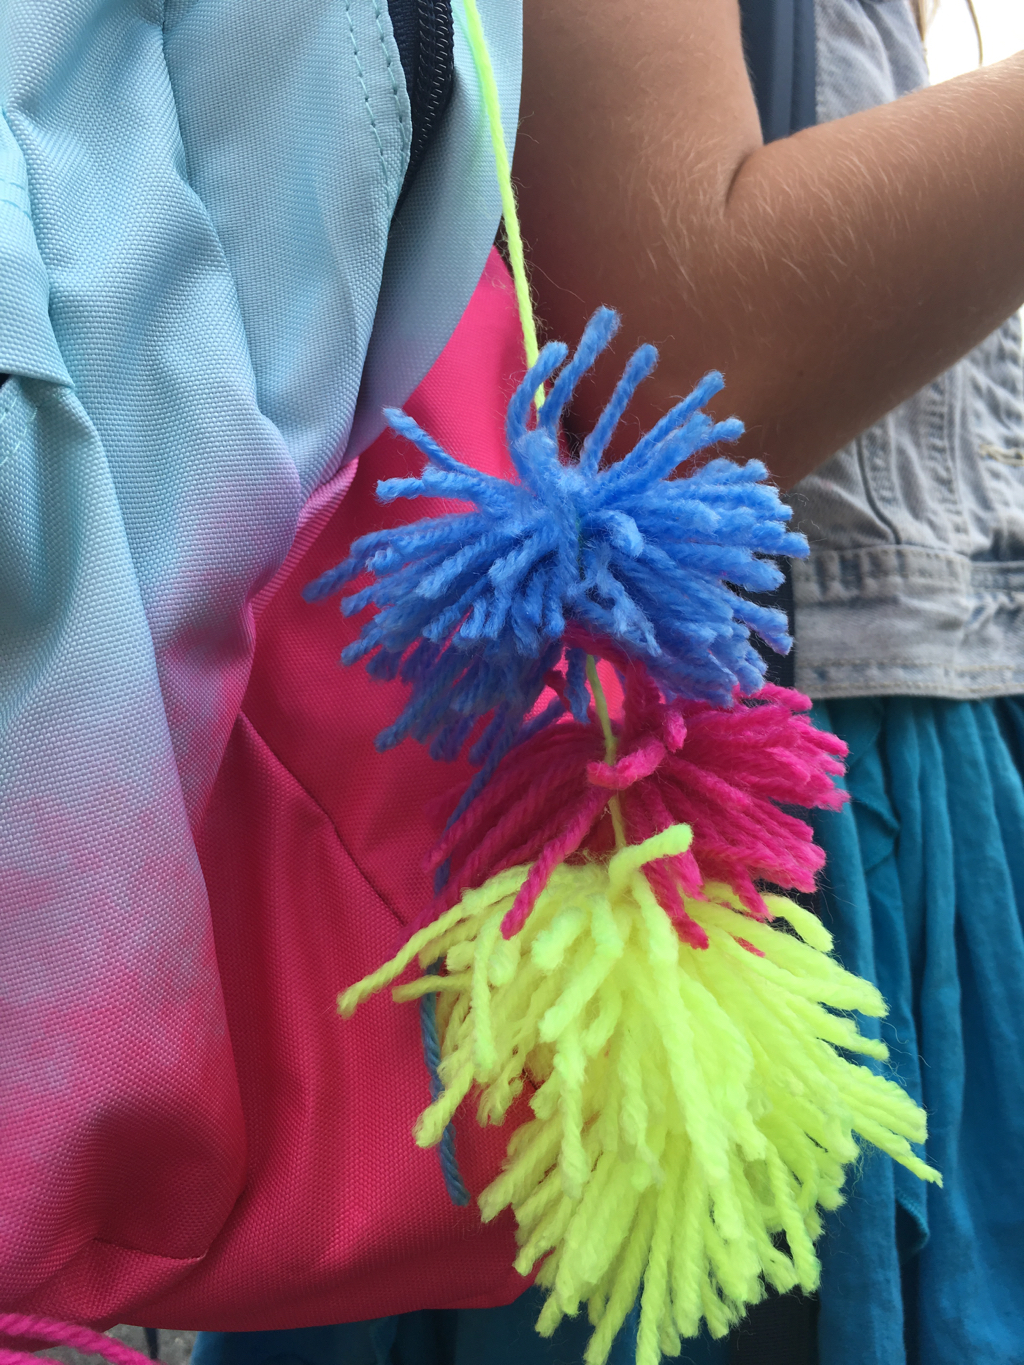
One of the biggest trends in handbag accessories has been the pom-pom tassel. From grown women with wicker beach totes to little girls with colorful adornments on their backpacks, pom-poms are more than just child’s play. And they’re pretty easy to make too.
I’m pretty good at making tissue paper pom-poms, so the idea of making yarn pom-poms didn’t seem to daunting. If you do a quick Google or Pinterest search, you’ll find a gaggle of DIY pom-pom posts that call for a few materials and show perfect looking pom-poms as a result. The girls and I gave it a go, and while our pom-poms looked more like Weeping Willows, the result was still pretty cute. See for yourself below. I would also love to hear from those of you who have been successful at achieving the perfect yarn pom. Please share your technique. If not, continue reading to see how it’s done (in theory).
There are two methods to making yarn pom-poms: with a fork and with your fingers. We tried both, but I prefer the latter.
Materials
- Rolls of yarn
- A fork or your fingers
- Scissors
- Optional: pony beads for decoration
Instructions
1. Using your index and middle finger (or the prong end of a fork), start winding your yarn so that you get a thick bundle. You’ll need to leave enough space in order to do Step 2.
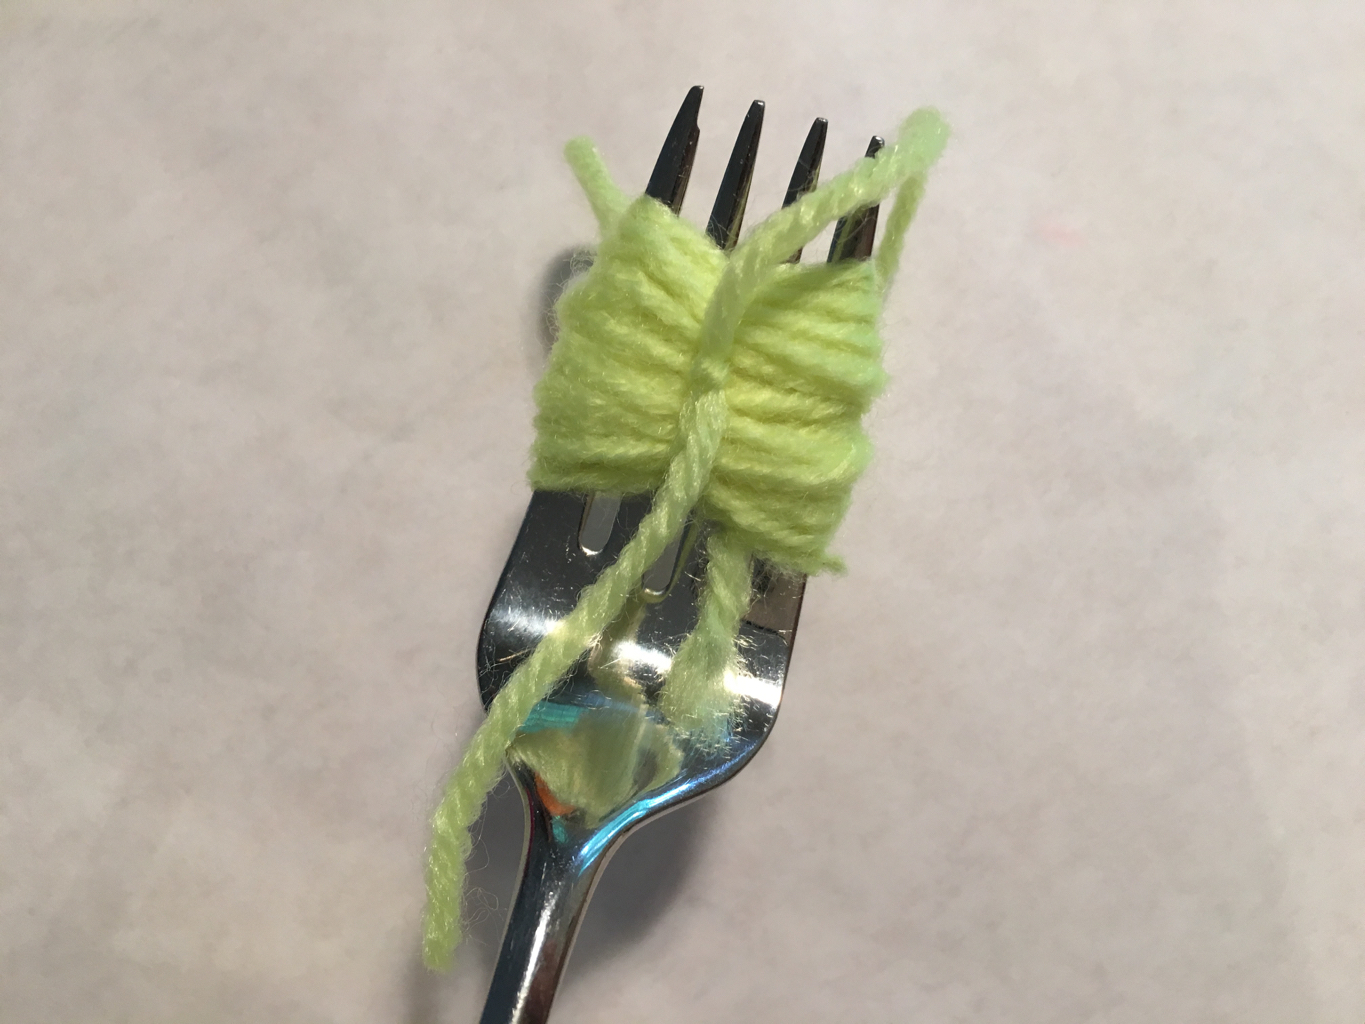

2. Cut a small piece a string and run it through the middle of the yarn bundle. Make the string longer in order to hang the pom-pom or add beads to it (see below). Tie off the string in the middle and then slide the yarn off your fingers/the fork.
3. Cut both sides of the yarn bundle,
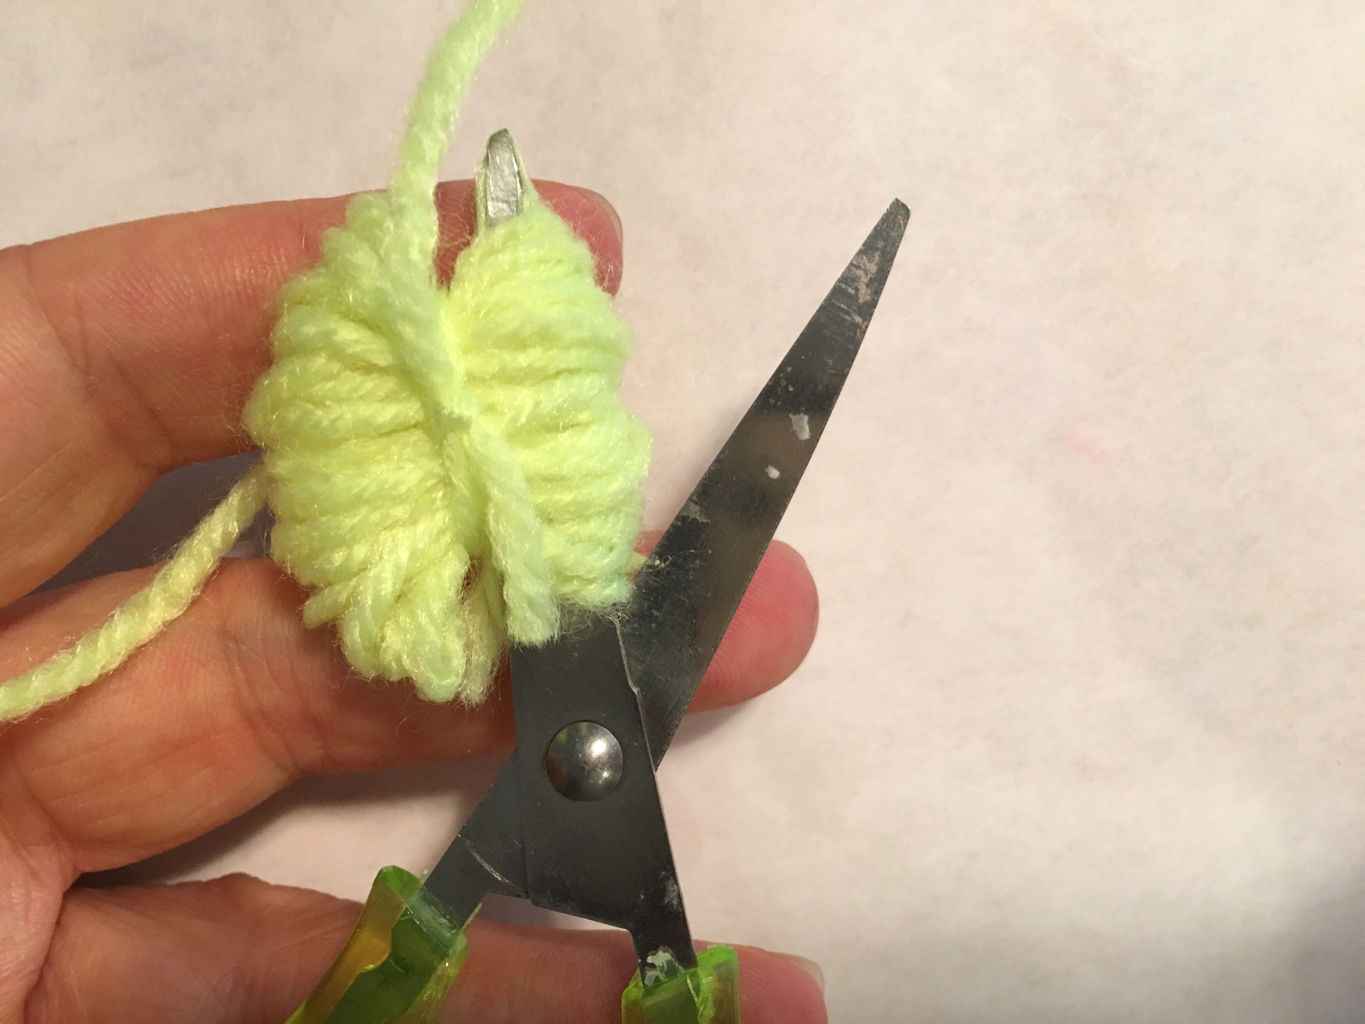
4. And then you have a pom-pom! (Sort of)
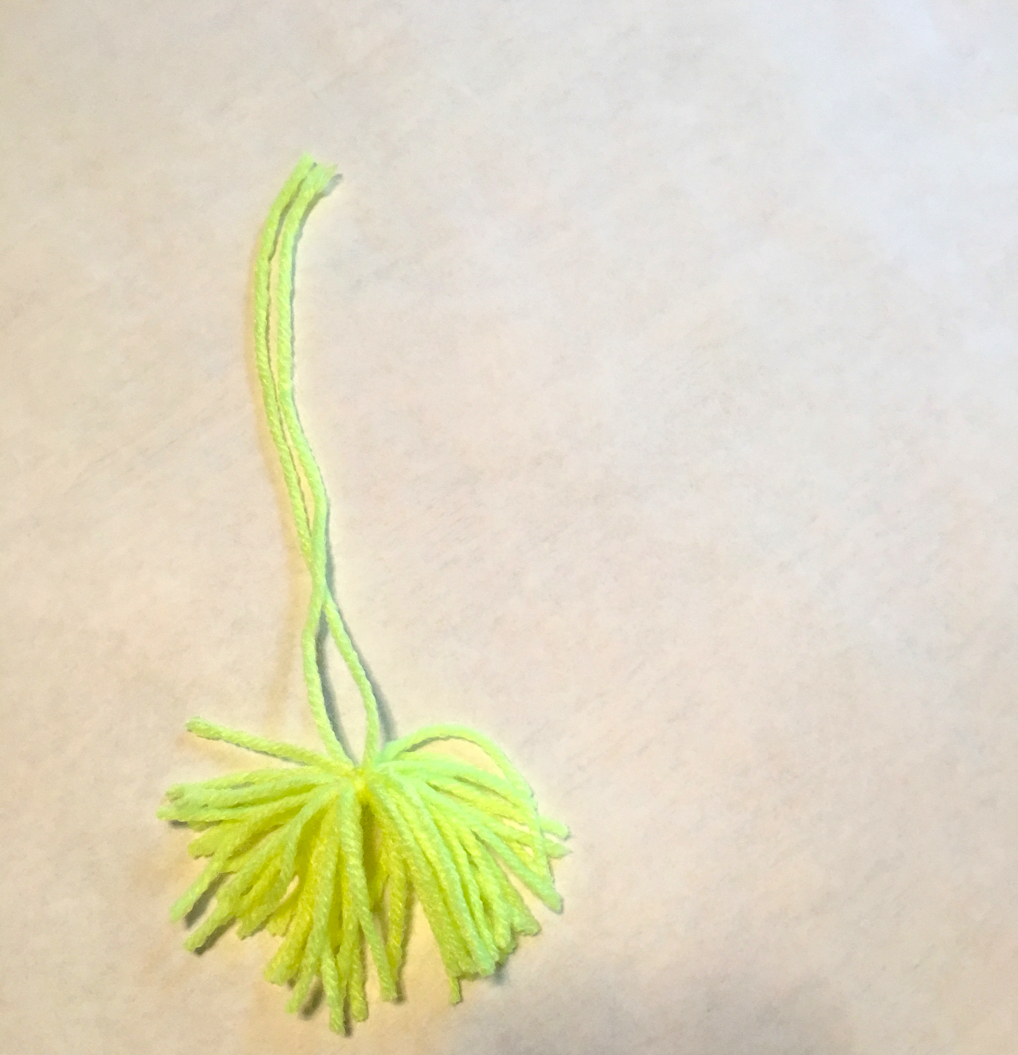
So it wasn’t a complete Pinterest fail, but it didn’t turn out like the tutorials I found online. I was able to make something cute out of our creations by adding Pony Beads and connecting the pom-poms to make one long backpack accessory. When combined together, I have to say they came out pretty cute!
