 My husband has been wanting to travel to the West Coast for quite a while now to visit with some friends who he does not get to see very often. So for this Father’s Day, I decided to buy him a round-trip airline ticket so that he can go have a little “guy time” and visit with good friends. However, the (aspiring) DIY-er in me wanted to still make a little something that he could “open” on Father’s Day. Since my daughter is just shy of her 2nd birthday, I thought that some cute DIY Luggage Tags might be a great coordinating gift idea that she could help me make.

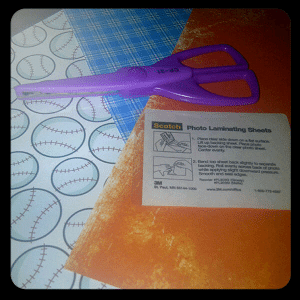
We started out with some self-laminating photo sheets, as well as some decorative paper we purchased from our local craft store (for less than $1 per sheet!). My husband is a huge baseball enthusiast, so my daughter helped me pick out some fun colored paper as well as a baseball-themed paper. And, being the Fancy Girl she is, of course she had to pick out some pink paper for herself 

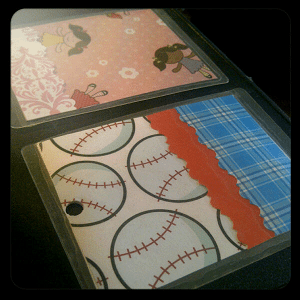
The rest is pretty easy – we printed the messages we wanted on the computer, using fun and fancy fonts and colors to spruce up our luggage tags. Using my crinkle cut scissors, I cut out some fun shapes of varying sizes out of our decorative paper. We glued them on, which my daughter loved helping with (although glue in the hair…not so fancy). We put our information on the front, and made some fun designs for the back. Next we inserted them into the self-adhesive photo laminating pouches, and together we sealed them up. A quick hole punch in the top, and we are good to go!
We filled Daddy’s bag with some fun travel items that he may need on his trip…and my daughter filled her beach bag up with, well, toys and Mommy’s jewelry  We decided to stay with a simple plastic tie for Daddy’s luggage tag, and we dressed the beach bag up with some fancy pink curly ribbon. These luggage tags were fun, easy, inexpensive, and a very versatile project for all ages! ~ Kim


